Showing posts with label sew. Show all posts

Wednesday, 19 March 2014

tags + labels for TARO crochet


For a little over a month now, I've been hooked on crocheting.

It started with the desire to make myself a cowl. On the spur of the moment, while visiting my mom, I asked her to teach me how to crochet. She did, and the next thing I knew I was crocheting cowls for two straight weeks, probably one a day.

I'm delighted to say that I love doing it. I especially like using soft, wool-blend, thick and chunky yarn. And oh, the colours! I partly made so many cowls just to see them in so many different colours. Not only are they beautiful but they really do keep you warm. While I was knee-deep in cowl-making, the temperatures here in Toronto were unkind. Freezing rain, snow, and wind chills in the forecast made me giddy and looking forward to cowl-wearing weather!

In the midst of taking up this new-found interest, I started an Instagram account to document the goings-on of it all. And in doing that, I started to get orders for the cowls. And because of that, I decided to create a name for the work that I was making and designed and printed tags/labels to send out with the orders. It's been a whirlwind of making and I wouldn't have wanted it any other way.

The cowls are made to order and I'm still slowly adding more colours to line. And because of that, I'm taking the time to crochet rather than to set-up an online ordering system. For now, folks are ordering through the TARO Instagram feed and by emailing me at taromakes[at]gmail[dot]com.

//


Thursday, 11 August 2011

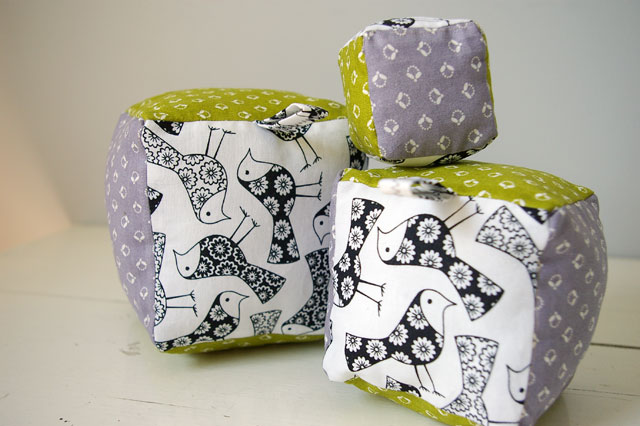
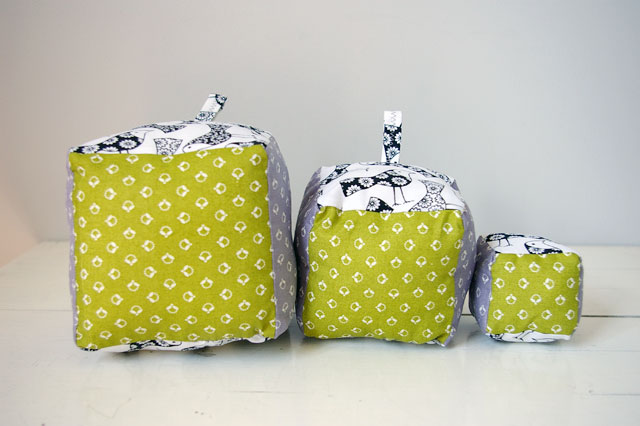
soft blocks made for baby


It was pretty slow going in terms of studio work and so these idle hands just had to find something to do. Making these soft baby blocks was the perfect 30 minute project for me. I took high contrasting fabric, stuffed with polyfill and some bells. Quick, done, easy. I don't see myself having a lot of time to handmake goods for the baby after he arrives (or for when he gets to be a toddler). Better to do what I can now while I've still got my hands and arms free!

//

Wednesday, 22 June 2011

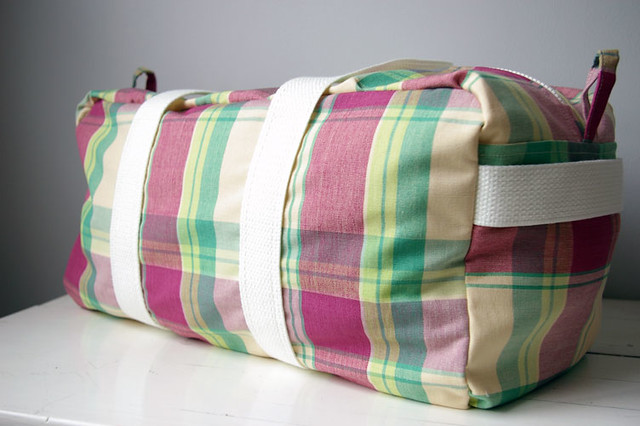
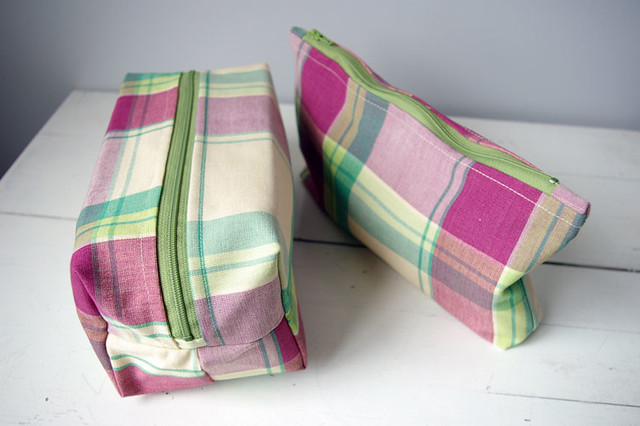
duffle bag for baby


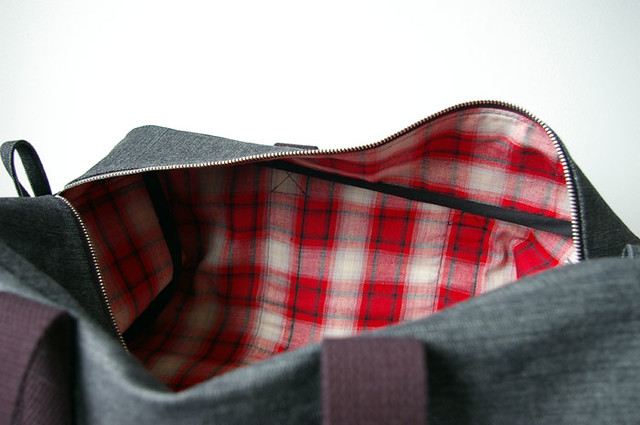
I headed straight for my sewing machine as soon as I found out I was expecting (mid-March). I suppose I needed something to do with my hands while I processed the news. A few hours later on the machine and I ended up with another duffle bag and some accessories to boot. The plaid and the colours are all baby :) I also made a portable changing mat from this tutorial. I must've been in good form at the time because I couldn't even think of picking up thread now. I'm still easily exhausted these days so this may be it for crafting for the baby!

//

Monday, 18 April 2011

more duffle bags


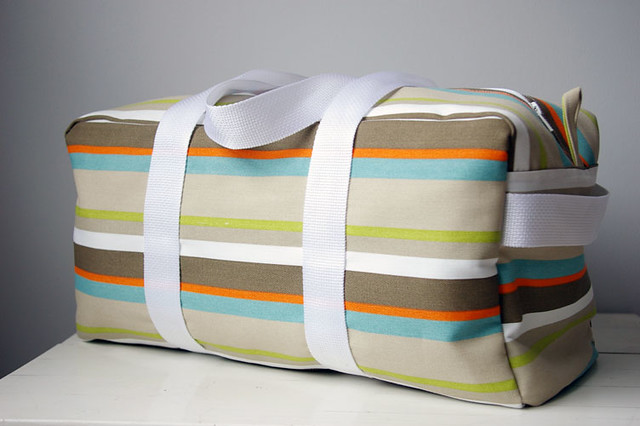
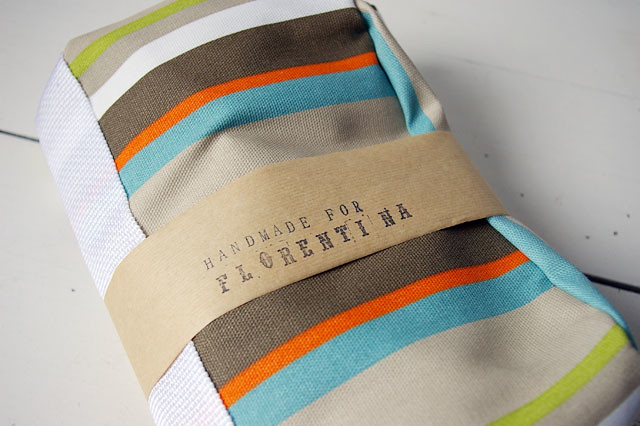
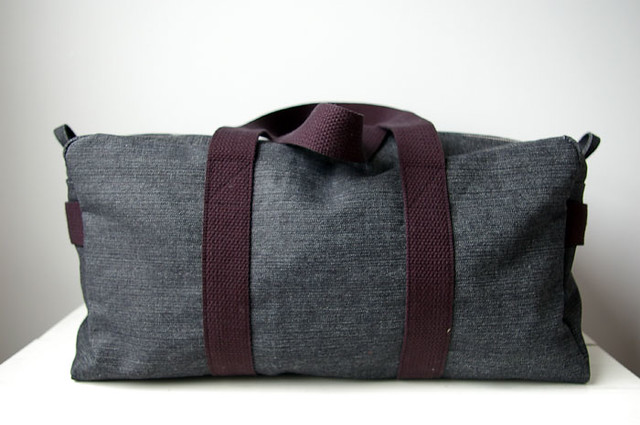
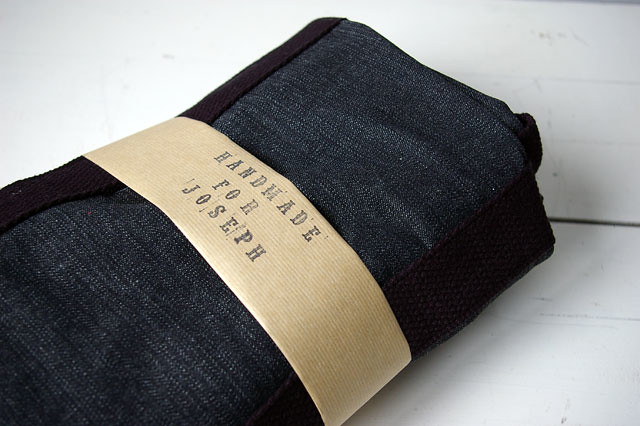
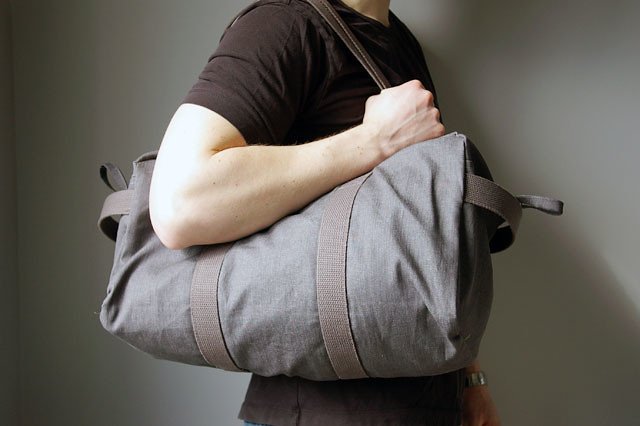
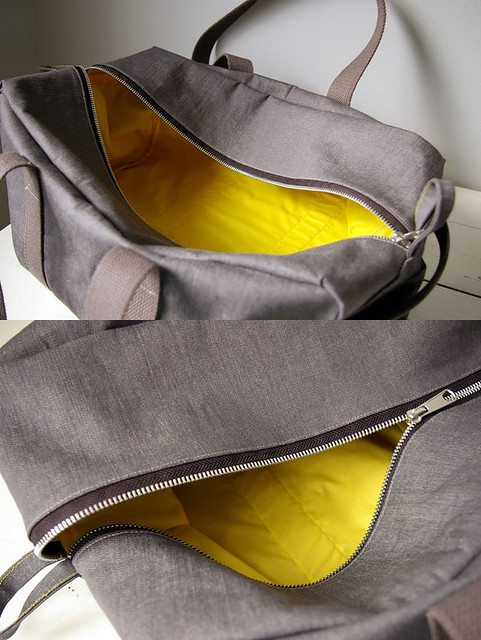
Remember the Duffle Bag class I took at The Workroom? Well, I've been practicing and am glad to report that I'm getting much better at sewing the rounded corners! I even got the hang of hand-sewing the bias after my mom showed me how to do it. Since the class, I've made six more bags for friends and family. There will be another round of duffle bag classes at The Workroom in June, get on it!

//

Monday, 21 March 2011

duffle bag class


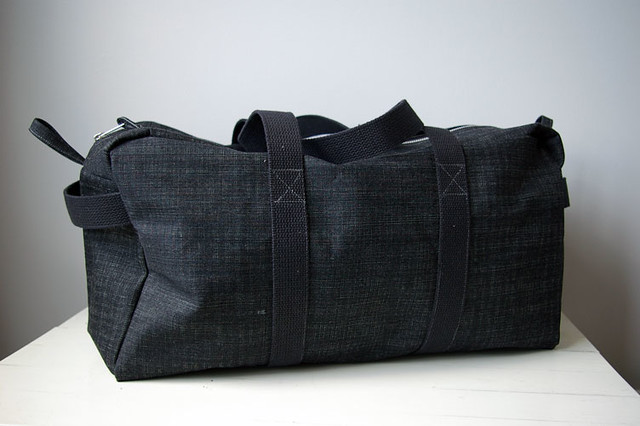
I feel like shouting it from the rooftops, "I made a duffle bag". That's how happy I am with it. Woot!

The last two Saturday afternoons were spent at The Workroom with Karyn, five other crafty gals and Guy Latulippe (our instructor). The first part of the class was spent tracing and cutting our pattern pieces. I've taken a couple of sewing classes at The Workroom but this was the first time I was introduced to webbing and the bias. Nifty little things both of them are. Getting into the class, my outer lining shrunk a bit when I gave it some steam to get the kinks out and so it didn't fit my lining piece any longer (note: stretchy denim not so good for this project). My homework that night was to re-cut and sew my lining and figure out how to attach it to the bias. Guy was kind enough to email me back with photos on how to do this so that I was able to catch up with the class. Thanks again, Guy!

The second part of the class was when the fun started. Although you do have to pay attention to what you're doing, I just had blind faith that the cut pieces were all going to come together in one awesome way or another. It's such torture to see the lining, threads everywhere, sewn bits etc. in such a mess and your would-be-bag inside out.

Near the end of the class, I realized that hand-sewing was going to be involved. Hand-sewing is pretty much my sewing nightmare. I sew crooked lines on the sewing machine and I was pretty sure that I wasn't going to do much better without it. The class went over time and so I had to baste the entire bag, securing the pieces, before machine-sewing it at home. Turns out, the whip stitch wasn't as bad as I thought it would be. That and  no one was going to see it so, crooked was a-okay. Please don't look too closely or for too long at my bag or else you'll notice the cornered curves are actually horrendous.

But all in all, my bag turned out pretty darn well for a non-sewer. This is in large part thanks to Guy and his clever pattern, his patience with all of my questions and his chipper encouragement. The duffle bag class was a challenging one for me. I'm still quite the beginner and this pattern tested my edge-stitching prowess. I've got to keep practicing and with that, I'm onto my next duffle bag.

Thank you, Karyn for hosting another bad-ass sewing class!

//

Friday, 23 July 2010

a cottage tote


lar


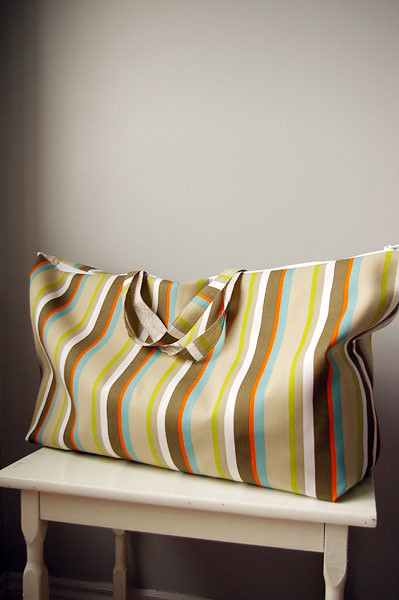
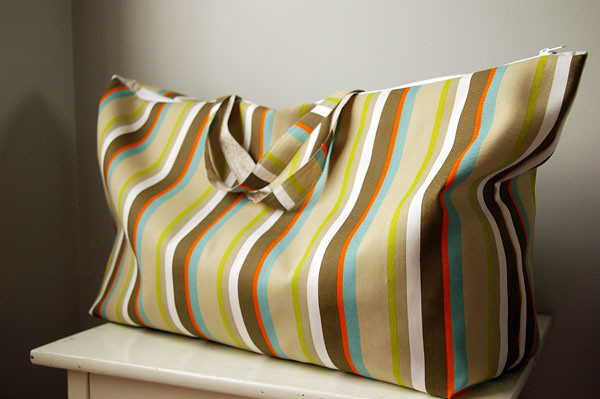
Okay, so I made another pouch. One, very large pouch. Actually, let's just call it a bag.

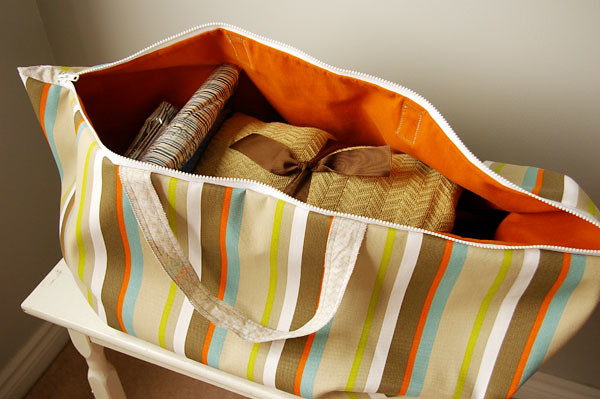
I've been going up to the cottage fairly often this summer and it's such a production to pack up the bedding each time we go. I had to find plastic bags large enough for the blankets and pillows to fit in. I just want to have a go-to bag that will carry all of the necessities for a good night's sleep and not worry about having to unpack them again upon returning. I bought bed sheets and a blanket specifically for the cottage and now all I needed was something to keep them in.

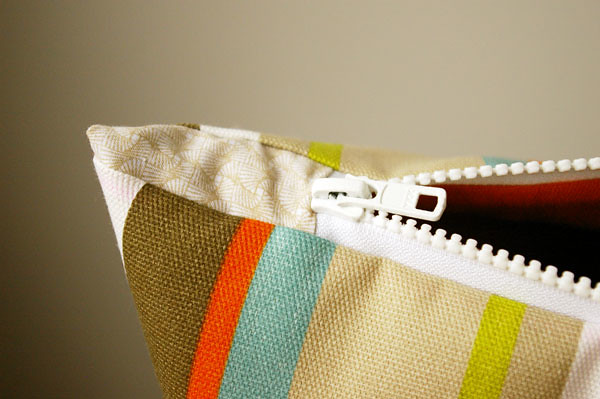
At Fabricland I found some great summery outdoor fabric and orange twill fabric on sale. It was a bit of a guessing game for the measurements because I didn't really know how large I wanted it to be. I ended up with a 30" zipper and the bag measured approximately 34" x 16" with 8" wide gussets. Oh and I had a doozy of a time with the addition of the handles. It's one thing to know what the finished product should look like. But it took me a while to figure out how the handles actually get on a bag and to hide the ends. You can see the stitching I did on the inside of the bag that holds the ends of the handles in between the outer and inner layer. I'm pretty happy with how it all turned out.

Now I can relax when it comes to go up north. Just grab my cottage tote with the beddings and enjoy.

Happy weekend, everyone!

Thursday, 22 July 2010

zippered pouches


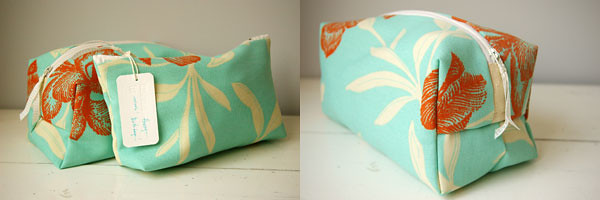
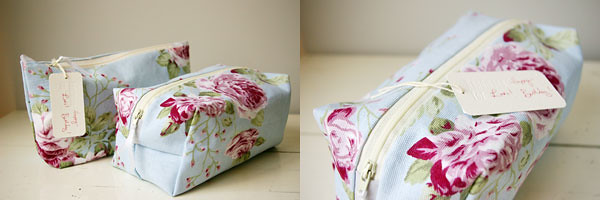
Okay, so I went a little bonkers after taking the zippered pouches class at The Workroom last Saturday. I could say that I made a few more to practice so that I wouldn't forget how to do it. But really, I just wanted to make more to give them to people. That and selecting the fabric is so much fun.

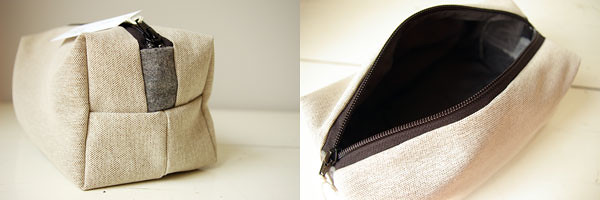
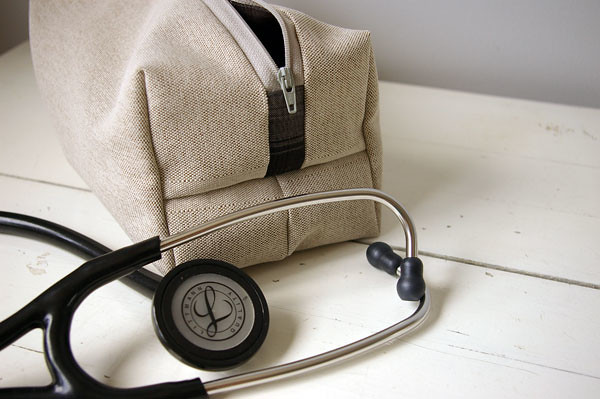
Karyn showed the class how to make two types of pouches, a flat and boxed one with gussets. The first set (turquoise and orange) I made for my mom and the second set (the blue and pink) for my mother-in-law. These things are so easy to make and so handy, they make perfect homemade gifts. Bonus points because they're super useful for the guys I like too. I used the same type of outer outdoor fabric for the pouches I'm giving to my brother, dad and husband. But I chose different fabrics for the linings, again, just because it's fun.

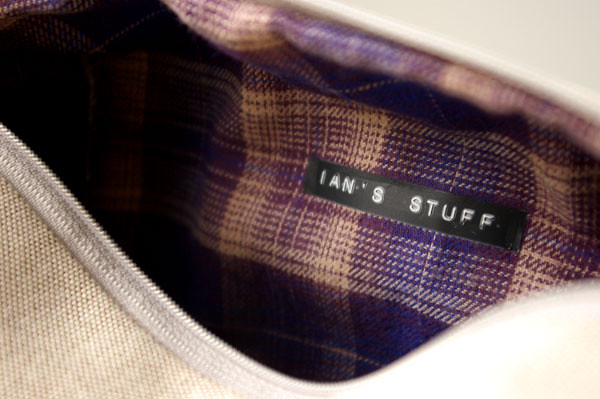
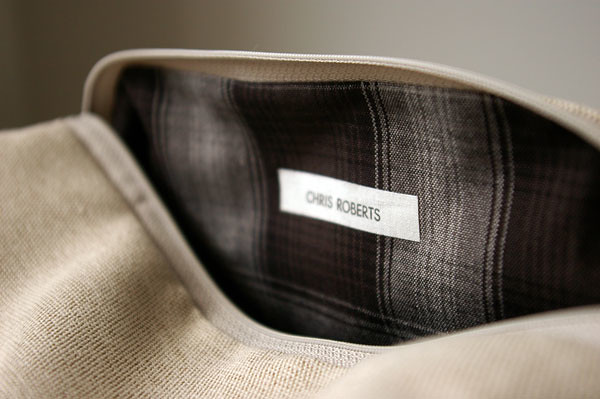
I used a sturdier zipper for my brother's pouch because I think he may actually use it fairly often. I don't want it to fall apart on him. For my dad's pouch I used a soft lining and labeled it with my Dymo. Lastly, Chris requested a pouch to keep his stethoscope in. About a year ago, Chris' mom gave me iron-on labels that have his name on it. She used them when he was a kid on quite a few things that belonged to him. I remembered I had them and added it to his pouch just in case it ever falls into someone else's hands.

Thursday, 24 September 2009

trying my hand at bookbinding

It took me a while to get around to being interested in bookbinding. You'd think that a letterpress printer would naturally gravitate towards it. It wasn't until I tried it, that I became hooked. The crafty girls got together on a Friday night and binded away. Ingrid, Jaime and I learned from Liz (thanks Liz!) who brought us nifty vintage hard covers to use and get us on our way. I'd say sewing the signatures were the most challenging and took the longest. But wow, is bookbinding such a cool skill to have. About three hours later, I had my first bound book. Instant gratification. One of the things I like about this is that I can use any type of paper I want or have on hand. Even the ones I don't like will make it into a book and suddenly become one of my favorite pages.

I filled the pages with notes from my recent trip and pasted paper keepsakes (photos, tickets, receipts, postcards, business cards, candy wrappers etc). I think more handmade journals are on the horizon for me.

Tuesday, 7 April 2009

to go

I'm a sucker for nice packaging. Sweet and simply sewn ones from etsy seller Pajarrito Lindo.

Tuesday, 3 March 2009

lever action

When it's time to remove the rollers from the CMC press, I sometimes feel like I need a third hand. The lever needs to be pulled down so that the rollers rest on the disc in order for them to be taken off. Trouble is, the lever needs to be held down, otherwise, it'll go back into it's original position while moving the rollers into an inaccessible position. It used to be that I'd interrupt my husband from whatever it is he's doing so that he can help me remove the rollers for cleaning. I'm not sure how everyone else is doing this but, I solved the issue with a little bit of sewing, fabric and Velcro. It's the little things that make printing so much easier.


Wednesday, 25 February 2009

cold shoulder

An afternoon of printing will take a toll on my arms and shoulders. Cold therapy pack to the rescue! Yes, my sewing workshop is paying off. Easy breezy straight stitches, lovely fabric and a small bag of rice make everything okay. Just remove from freezer and soothe the muscles.

Tuesday, 27 January 2009

in the works

Sewing was the last thing I thought I'd ever want to learn. But flipping through some crafty books I got over the holidays, the urge to sew crept up on me. Next thing you know I'm in The Workroom, a Parkdale gem that lets you sew by the hour and is host to a bunch of great sewing classes. Karyn, the owner, has done a nice job with the store-front like space lining one wall with gorgeous fabrics and a variety of sewing machines on the other. She's set it up so that all you want to do is get right down to making something!

And indeed I did. The Sewing Essentials class was perfect for me, the beginner. I came out of the 3 hour workshop confident in sewing a straight line, knowing how to thread a bobbin and an envelope pillow case to prove it. Small steps, people!
But as usual, when I get onto something I'm like a dog with it's favorite chew toy. The next day, I bought a sewing machine. I already have a small collection of fabrics I've picked up over the last few months (y'know, just in case).

What does this have to do with letterpress, you wonder. I do too. But learning a new skill never hurts and maybe one day, I'll add to the cards by way of fabric packaging. I'm a sucker for presentation. We'll see what happens.