
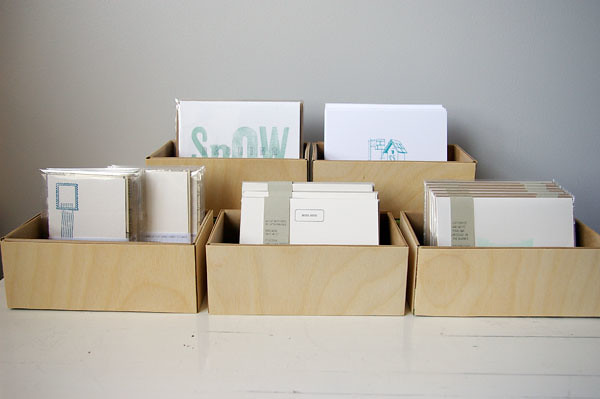
I've always struggled a bit when it came time to setting up a uniform display at craft fairs. By using containers that were different shapes, sizes, colours and materials to hold my products, it was difficult to have a unified look. I wanted my display/table/booth to be simple and minimal. Also important was that the display be somewhat unnoticeable, serving only as a background to my featured products. I found that the best (and most cost- effective) way to do this was to make the containers myself.
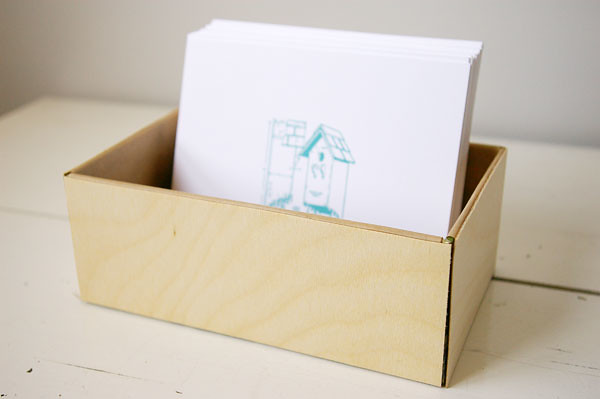
My solution to a unified-looking display was to make boxes that looked the same to hold my letterpress printed goods. I like the look of birch and so this was the perfect way to go. Here's how I did it:
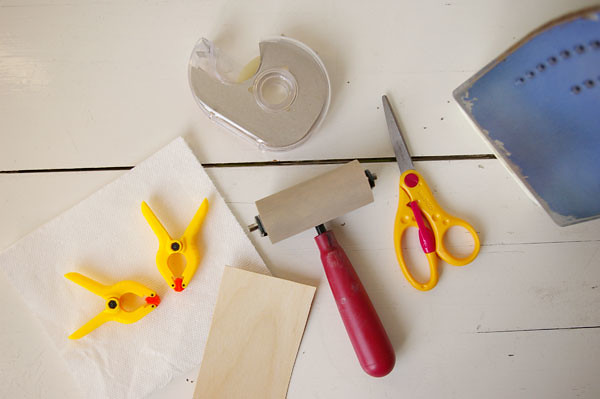
Materials: ready made boxes in the size(s) you want (I got a bunch of 'gift boxes' from the dollar store); wood veneer with an adhesive backing (bought from the local hardware store); a good pair of heavy-duty scissors (industrial ones are perfect); lining paper (whatever you want to line the interior of the box with); paper towel (or cloth); iron; tape; small clamps (bulldog clips are good too); brayer (or something to roll over the wood veneer).
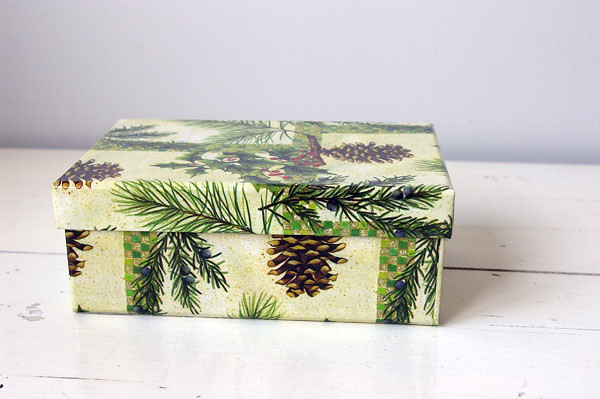
Note: The boxes I got from the dollar store came with lids which I had to part with for this project because after the wood veneer is applied, the lids won't fit anymore. Also the wood veneer I purchased came in a roll and I had to flatten it out and leave it for a couple of hours before cutting.
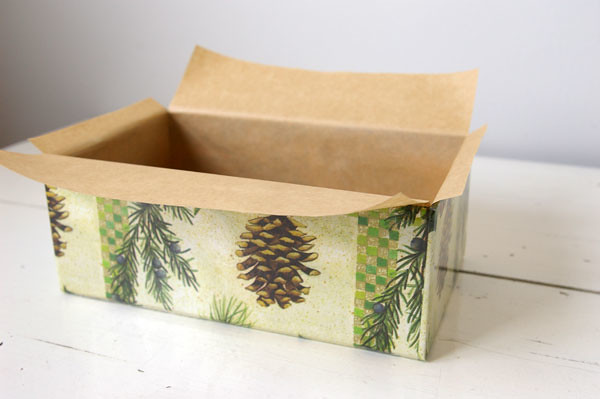
You don't have to line the boxes if you like how the interior looks or want to save yourself some time. I actually like the way these boxes look but I'll be using these for future craft fairs and so wanted them to look as plain as possible for all seasons/occassions.
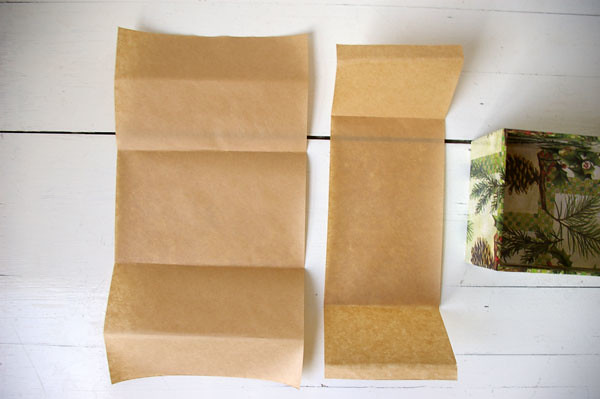
But if you want to hide the inside of the box just measure the length and width and ensure that you have enough to cover the sides and to fold over.
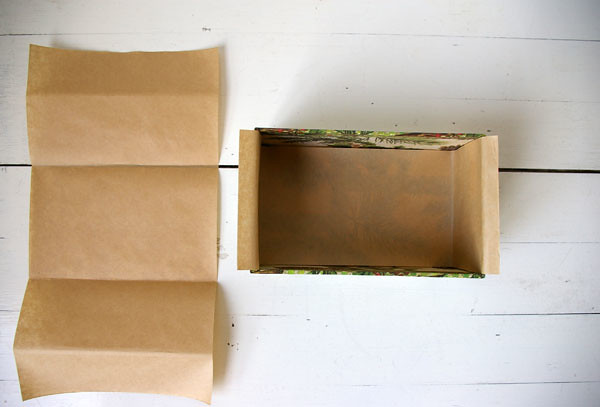
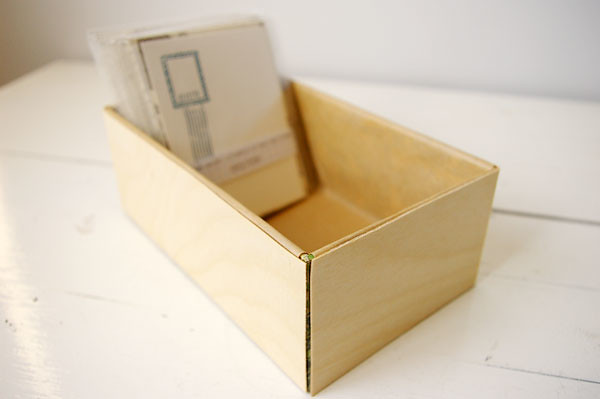
Place your lining inside the box with just enough to fold over the edges.
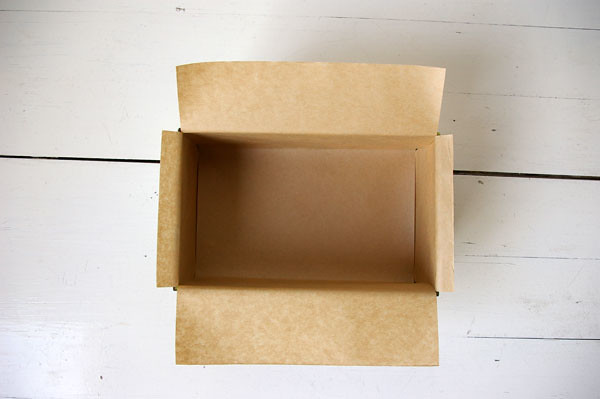
Place the second piece of lining on top of the first one and fold over the edges. I taped the second lining down just to secure it as well as the folded over pieces onto the sides of the box.
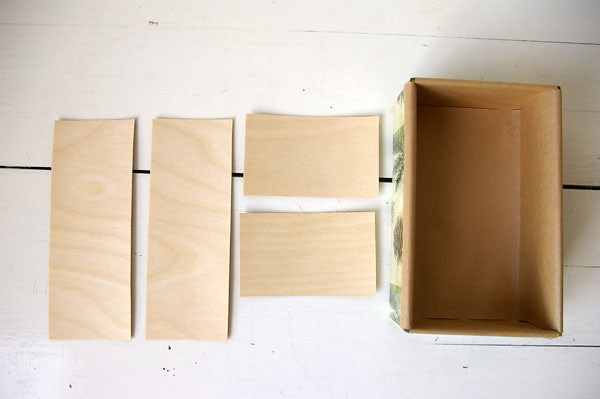
Next, measure or trace the sides of your box on the wood veneer and cut out the pieces (2 for the length and 2 for the width). I didn't bother to cover the bottom side of the box in order to conserve the veneer material. Also, I found that cutting with the grain was easier than against it.

Next, take one veneer piece and lay it on one side and secure it with your clamp.
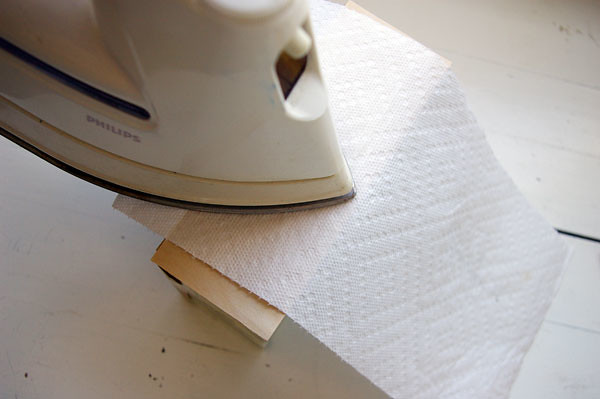
Place your cloth or paper towel on top of your secured piece of veneer to protect it and iron on top of it. I used the highest setting on my iron and used quick strokes on top of the paper towel to heat activate the adhesive. The veneer will adhere within seconds if enough heat is applied to it. (NB: Once the glue is activated, the contact is pretty solid, so make sure your veneer piece is where you want it to be and doesn't shift while you're ironing it). You'll remove your clamp as you iron from one side to the other.
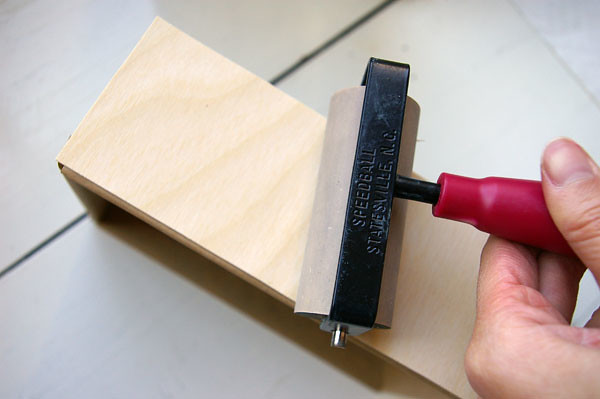
Remove the paper towel and use a brayer or small rolling pin over the veneer to smooth out the adhesive, even it out and ensure all corners are stuck to the box. Caution: the veneer will be very warm to the touch.
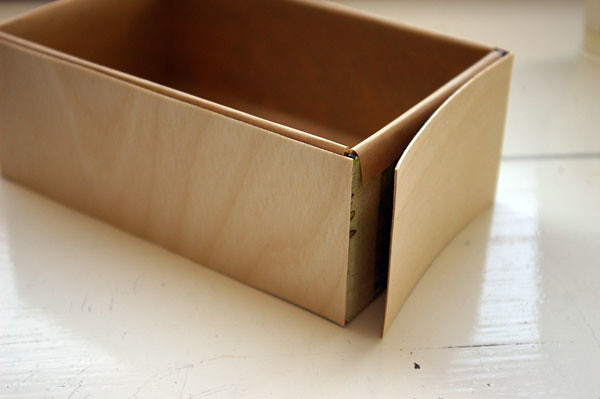
Repeat the above steps with the wood veneer pieces for the remaining 3 sides. And you're done!
The nifty thing about this is that I can take almost any size box and cover it (depending on what size sheet of wood veneer is available). I was mighty tempted to print on the wood veneer before starting the project, but decided against it because I didn't want to commit anything to them. But I can imagine these looking quite smart silkscreened or stamped on. I may re-cover more boxes and use them to organize things in the office/desktop/studio. But for now I've got a cohesive look for my display and an inexpensive unified set of containers that are the perfect size to house my products!
//


No comments:
Post a Comment
Anonymous comments (meaning comments without valid URL's) will not be published.