

Taping the rails was something I had only read about on Briarpress. Luckily, Boxcar Press has some great video tutorials on their site to handle such problems. And although it sounds easy to do, it takes quite a bit of time.
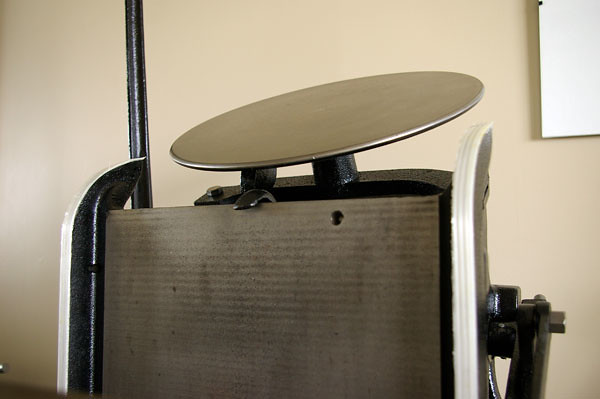
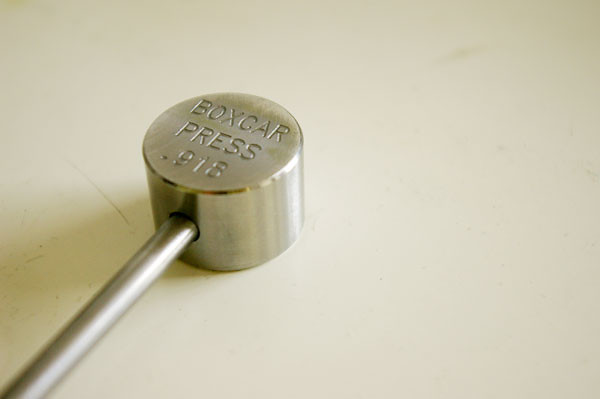
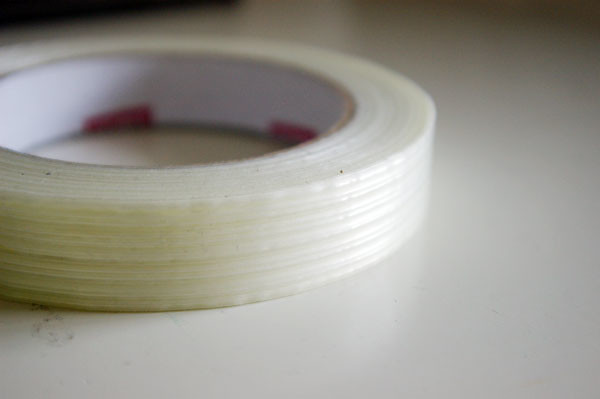
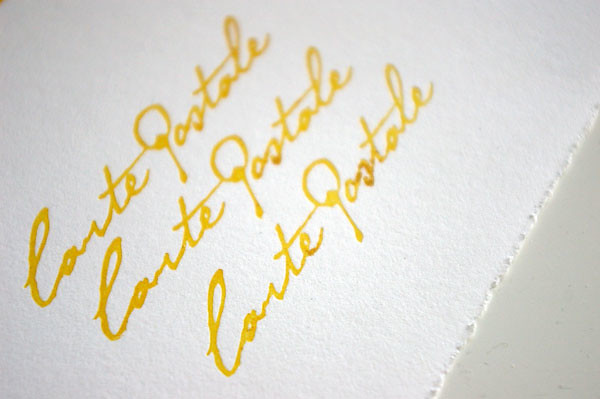
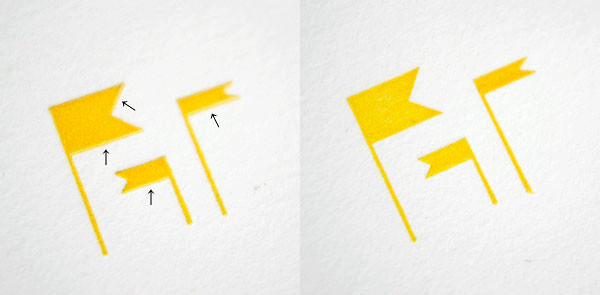
I purchased a roller setting gauge from Boxcar and some filament tape from an office supply store. I rolled up my sleeves, set aside an afternoon and got to work. Ten strips of tape on each rail later and a dozen or so tests with the gauge, I finally got my rollers to height. You can see in the photo above the before (with the arrows pointing to the problem areas) and after roller/rail adjustment. The text I tested also shows ever so slight improvements with each layer of tape added.
I was a bit discouraged at the thought of having to tape the rails, but am ultimately happy about having done it and learning from it. Getting to know my press, it's quirks and even it's sounds makes using it that much more special.
//


No comments:
Post a Comment
Anonymous comments (meaning comments without valid URL's) will not be published.